Follow these simple step-by-step instructions to create your own blank comic books! Kids, you may need your parents' help. Parents, you may need your kids' help.
Step 1.
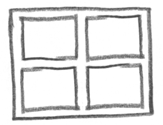 1 X 2 |
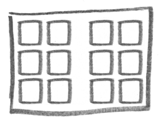 2 X 3 |
Click to download these files to your computer. |
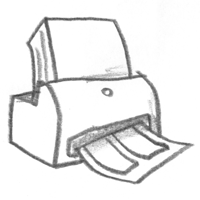 |
Print out a few of each kind of page. The pages are double-sided, so if your printer only prints on one side, put the printed pages back in your printer and print the other side. Be sure to test this with one page first to make sure you're printing on the blank side! |
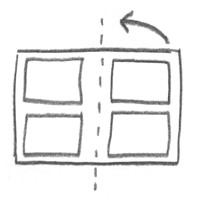 |
Fold each page in half. |
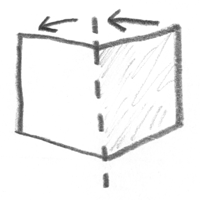 |
Also fold some blank pages in half. These will be your covers, so fold one for every blank comic you want to make. I like to use heavier stock for this, but regular paper works fine. |
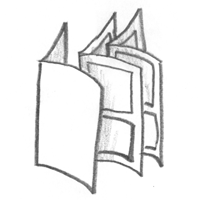 |
Sandwich the pages together. Mix and match! Each sheet of paper is four pages of comic, so you don't need too many--start with just two or three. |
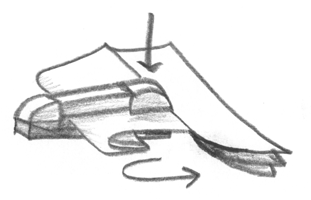
Slightly tricky part: Lightly bend the pages of one side of your comic so it will fit into a stapler. Stamp two staples right onto the creased spine of your book. This will hold your pages in place. Pull the comic out and smooth out the pages.
Step 7.
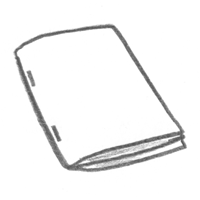 |
Draw your comic! Create your cover! Fill each panel! Tell a story! Load it up with as much (or as little) action and adventure as you like! |
- Make a whole mess of these blank books and just keep them around for when a story idea hits you.
- Keep your books short! That way you can finish them quickly, and keep your stories focused. You can always continue your story by numbering the covers and ending each book with a "TO BE CONTINUED . . . " (This is something pros do!)
- Start in pencil, then move on to any other art materials you want to work with. Or just leave it in pencil, if that makes you happy. If you use wet stuff like ink or paint, leave the open pages in the sun to dry before you turn the page, or you will have a mess.
- Use word balloons, text boxes, and sound effects to help tell your story. If you don't know what these things are, spend some time with some comics, either from your local comic shop, the newspaper, or the web.
- Make comics about what interests you the most. Maybe that's animals. Maybe that's giant robot horses, or spies and princesses, or instructions on how to make food or doomsday devices or magic bracelets. Maybe that's about how you and your best friend first met, and how you both got your powers. I mean, this part is really up to you. Just make sure it's something you really, really care about, and the words and pictures will just flow right out of you and onto the page. I promise.
- COMPLETELY IGNORE THIS ENTIRE PAGE. Wait, why do your panels have to be rectangles? Why do you have to have panels at all? Staple blank pages together and go to town designing any kind of page that helps tell your story. Staple fruit together and draw on that, if that helps you get your point across!